Getting Started
Links Manager:
Links Manager is the central hub for all link-related features in SEO Repair Kit. From one dashboard area, you can scan links, monitor 404 errors, schedule automatic scans, configure email notifications, and manage smart redirects — without jumping between different sections.
Introduction to Links Manager:
Broken links, 404 errors, and redirect management are often spread across multiple tools. Links Manager brings everything together in one place. Whether you need to run a manual scan, check which 404 pages are getting the most traffic, or set up automated link checking, you can do it all from this single interface.
Why It Matters:
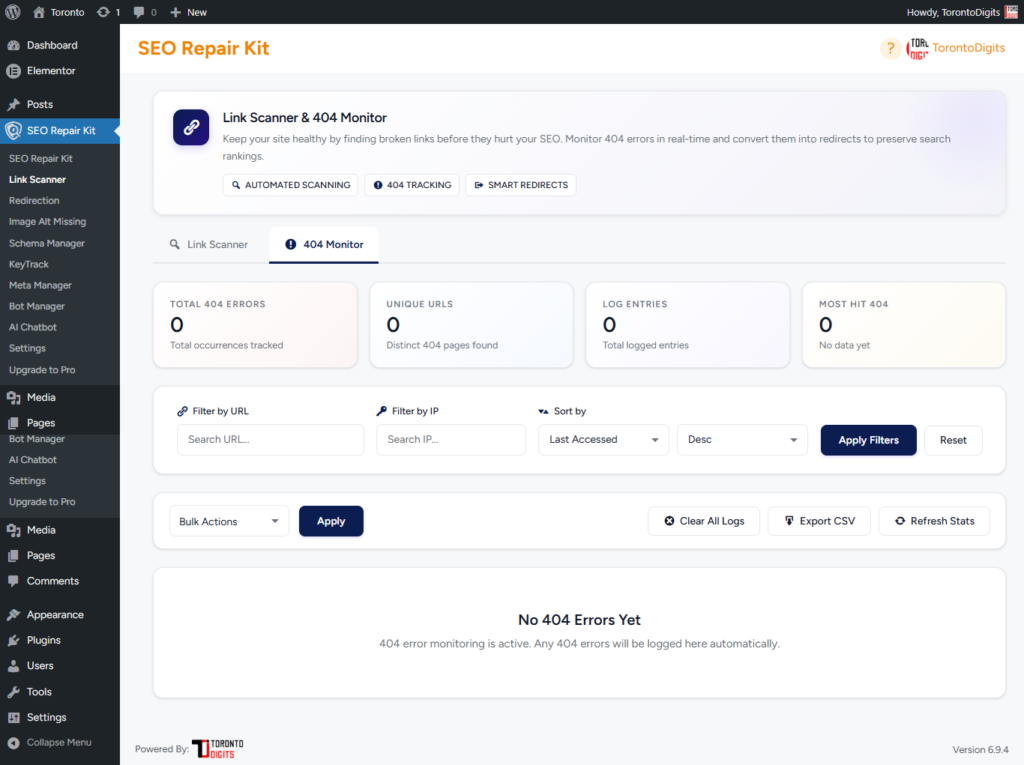
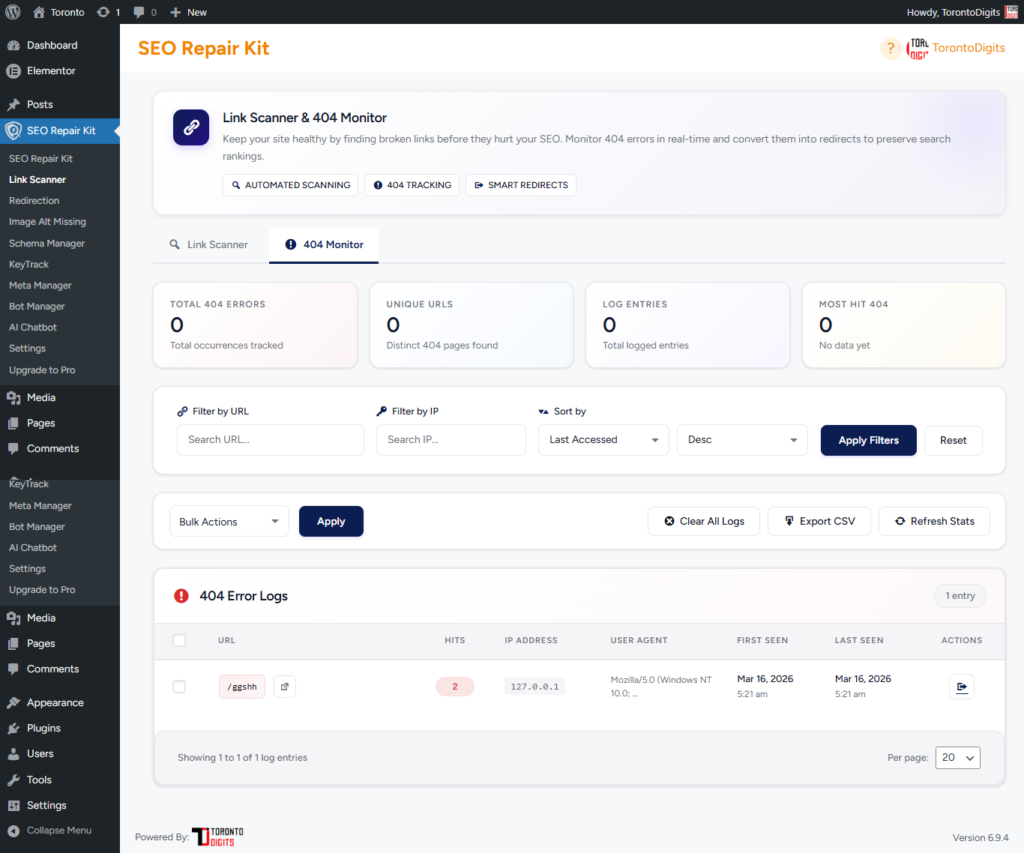
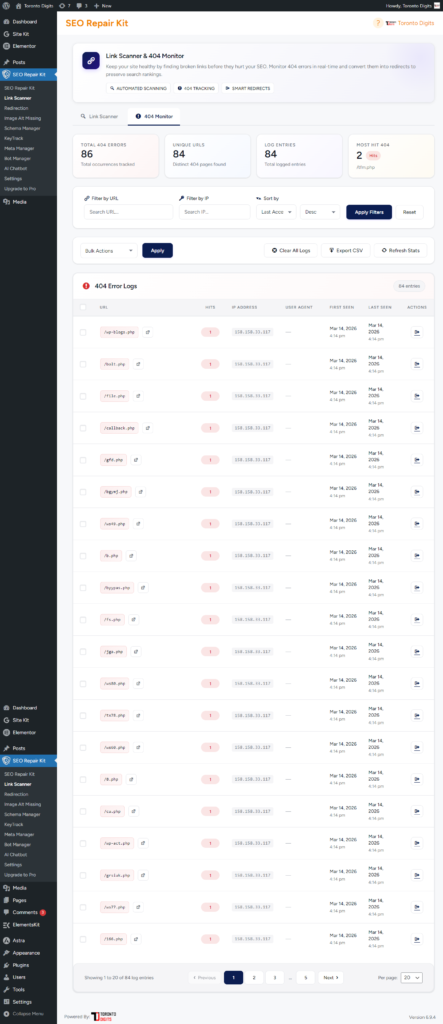
Managing link health requires multiple actions — scanning for issues, monitoring real-world 404 errors, setting up automation, receiving alerts, and creating redirects. Links Manager eliminates the chaos by organizing all these features into five tabs: Link Scan, 404 Monitor, Auto Scan, Notifications, and Smart Redirects.
What You Can Do from Links Manager:
- Scan internal and external links for HTTP status issues
- Review broken, healthy, redirected, and problematic links
- Export scan findings to CSV
- Create redirects directly from problem URLs
- Monitor 404 errors with hit counts and referrer data
- Schedule automatic link scans with custom intervals
- Receive email alerts when broken links are found
- Automatically redirect deleted posts to archive pages
Requirements:
- SEO Repair Kit plugin installed and activated
- Post types selected for scanning in Settings
- Active internet connection for external link checking
- No coding skills required